


Do you know how to build LED screens in a more affordable way? Of course, it’s not as easy as most DIYs you’ll see on reels and TikTok videos. However, with a good guide, you can guarantee success and create your own masterpiece.
Why is it beneficial for you to create your own device and learn how to make LED display screens? Here are the top reasons why this endeavor is worth the time and effort:
- Low-cost materials produce a more affordable device
- Bright and easy-to-control device
- Attention-grabbing screen
- Quick and straightforward DIY process
- Guaranteed project success
Knowing how to build LED screen offers you the chance to get creative and be in control of how you want your LED display to be. Settle with a simple type of LED screen before you explore other, more complex types. Next time, explore how to make flexible LED screens. Today, start with a standard LED display first.
How an LED Screen Works

LED screens work like most digital devices do, like a clockwork, where each component has something to contribute to the operation. To seamlessly learn how to build LED screens, you first need to know how the device works.
An LED display consists of several important components, such as the LED screen panel embedded with diodes, a power supply, a control system, and an LED cabinet that keeps everything together. These components need to be connected perfectly with each other in order for the entire device to function properly.
How to Build LED Screen In 6 Steps
You can build an LED video wall or a standard LED screen, depending on what you need. If you just follow these six simple steps, you won’t have a hard time building your own masterpiece in no time.
1. Planning Your LED Screen
 Image Credit: Pexels.
How to build LED screen successfully? Start with the planning. Preparing ahead and setting up the foundation of your LED display is a good starting point that can lead to success. These are the tasks to undertake when planning for your device:
Budgeting
When learning how to make a RGB LED screen or a similar device, it’s necessary to know how much you are allowed to spend. This gives you solid guidelines on your expenses and a limit to what you can spend. Knowing your budget plays a huge role in making future decisions about the LED display you purchase.
Set a specific amount you are able and willing to spend on this project. Research the possible prices of the materials you will use when building your display, and take that into account when coming up with your budget value.
Goal-setting
Goal-setting comes as part of the journey of learning how to build LED screens. What do you want to accomplish with this project? How do you plan to use the DIY LED display?
List down the objectives you want to fulfill. Make sure they are doable and time-framed to make them more effective. Be clear about your goals and go back to these goals every time you decide about your screen.
Plotting and Designing
What do you want your LED display to look at? LED screens are known for their flexibility and limitless potential; however, it’s best to be more grounded and base your inclusions on your goals and requirements. This means settling on some important specifications, such as:
- Screen Size
- Screen Shape
- Pixel Pitch
- Resolution
- Refresh Rate
Many of these specifications will be decided when choosing your LED tiles. It’s somehow a preparation for building the LED display ensemble.
Scheduling
Make sure to allot enough time learning how to build LED screens before actually going hands-on. You need to spend time understanding how the device works and what each component does. Reading about how to build LED screen just once is not enough. Explore more information about LED displays to broaden your knowledge.
2. Preparing Installation Location
Start prepping the place where you’re installing your LED screen. Understanding how to build LED screen involves knowing how to make space for your device and the entire ensemble you plan to showcase.
First, envision your LED display plan. Make the necessary measurements, including the viewing distance and angle. How big a crowd do you expect your audience to be? Consider this aspect to maximize your screen visibility.
If it helps, create a diagram of your installation site, depicting where all of the components will be positioned, from the power supply and wiring runs to the actual LED panels. Arranging it as clean as possible is key to making your LED display ensemble look perfect and seamless.
3. Assemble and Mount the Screen Frame
 Image Credit: Bing AI.
The screen frame is part of your LED ensemble. It refers to the structure that keeps your LED screen stable and protected while it operates. Understanding how to build LED screens also involves the screen frame, so you need to learn about it too.
The most convenient way to build your screen frame is to purchase a ready-to-assemble screen frame complete with instructions. Here are the steps to assembling your LED screen frame:
A. Mark important areas
Make an outline of your entire diagram in real life using a measuring tape and a marker or chalk. Pay special attention to the areas where the screens need to be installed and where the cables and wires will run.
B. Assemble the frame
Go back to the manual included in your screen frame’s package and study it carefully. Put together all the parts and connect them one by one meticulously. Make sure that you tighten the bolts well.
C. Mount the frame up
If you can’t handle mounting the screen frame alone, ask for someone else’s help. Putting the frame up is an important part of how to build LED screen, since your display won’t stand alone with it. Prepare tools and accessories, such as bolts, anchors, brackets, and crossbars.
D. Test for stability
Try the frame’s stability and strength. You don’t need to stand on the frame just to challenge it, but you can test it by adding heavy items to the frame, one by one.
4. Assemble LED Tiles

One of the easiest steps about how to build LED screen involves assembling the LED tiles. It seems simple, but you need to have the patience to arrange and organize them orderly, like pieces of a puzzle. Here are tips to make this task a lot easier and simpler:
- Clean the workspace where you’ll assemble
- Collect all the tools you’ll use (including screwdriver set and electric drills)
- Check if all the parts of your tiles are in the box, and collect all the tiles and bolts included in the LED display package
- Put the tiles together according to the manufacturer’s manual
- Slowly mount the assembled tiles onto the completed frame
- Connect all the wires (both signal and power) to their corresponding components
5. Test LED Tiles Operation
Testing the LED tiles is part of the process of how to build LED screen. Conduct a simple test by turning the device on and checking for irregularities, such as dead pixels, misconnections, and odd colors.
6. Connect LED Tiles to Controller
Once you’ve successfully mounted the tiles to the frame, meticulously and carefully connect them to the controller, every cable and wire. It means that when you deal with more LED tiles, you also need to deal with more cables. In terms of connections, pay attention to errors, such as absent connections, loose attachments, and kinking cables.
What Processor and Software to Use

To successfully run your DIY LED screen, you don’t only need to learn how to build LED screen. You need to know more than how to make LED display board circuit, but also what software and processor to choose and use.
Why do you need to know about the processor and software when learning how to build LED screen? The processor refers to the gears of this clock, responsible for receiving and translating the content file that needs to be displayed on the screen. Meanwhile, the software controls the management of the LED screen and content. Using the software, you can calibrate brightness, color contrast, and layout.
How do you know which processor and software to choose? Here are several factors you can consider before making a decision:
- Budget – Can you afford the processor and software you’re considering? After spending on LED tiles, frame, and other accessories, you need to allot a portion of your budget to spend on these additional components.
- Compatibility – Make sure that the processor and software are compatible with your LED screen ensemble.
- Features and Functions – Look into the features of the processor and software to guarantee that they can match your display needs.
Testing Your DIY LED Display

Besides studying how to make LED display board at home, check if everything is functioning properly. While you may have checked the LED tiles to see if they’re working, you need to thoroughly test all components to avoid errors in future operations.
While it seems as technical as learning how to build LED screen, you can actually do this task by going through these instructions one step at a time.
- Start with the power supply – Make sure that the ensemble is plugged into a stable main power supply and double-check if it is the proper voltage
- Meticulously check all the cables – Follow all the connections from the LED tiles to the controller and then to the power supply (Pay attention to loose wires and absent connections
- Try your controller and input sources – Check if your controller can seamlessly connect to your input source, whether it’s a flash drive, computer, or the cloud
- Test your content – Play your content file and see if it runs well in your DIY LED screen. Check out important specifications, such as resolution and aspect ratio. Make sure to consider the audio of the device.
DIY LED Screen Maintenance
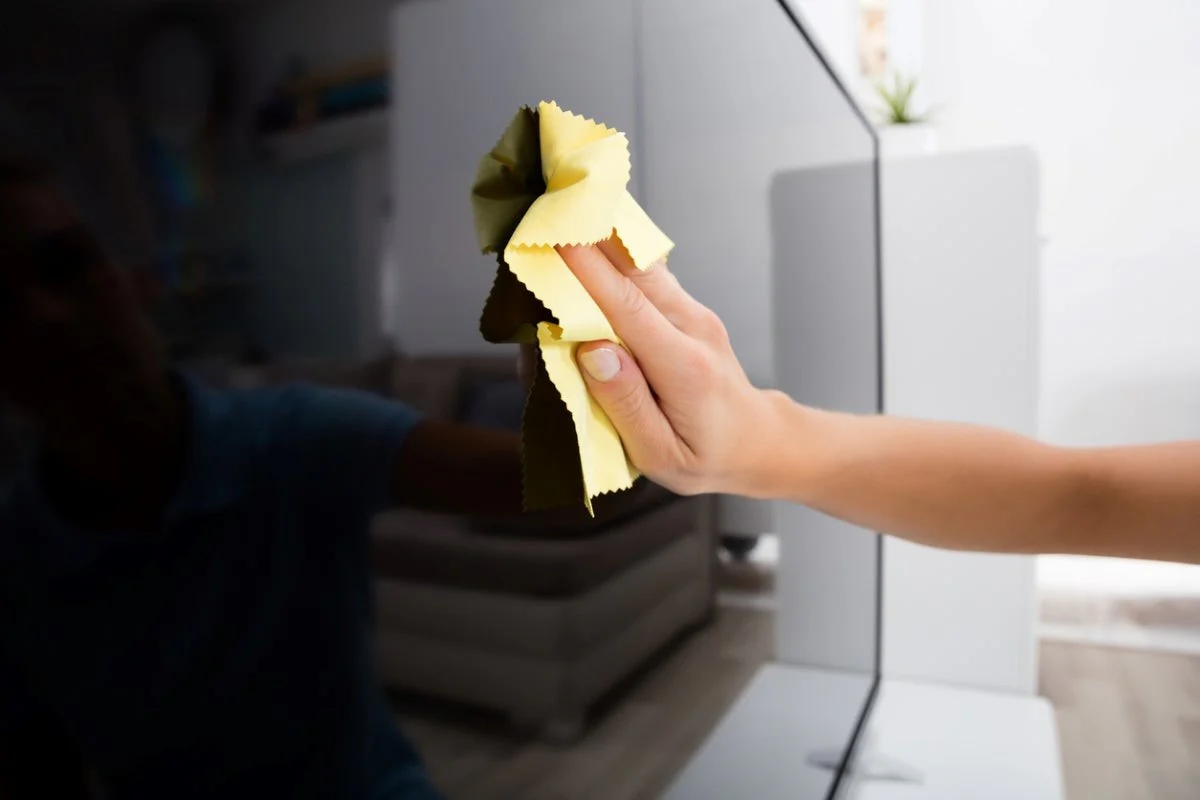
Learning how to build LED screen also includes knowing how to maintain that display. To make sure you don’t waste your time, money, and effort in building your LED display, take proper care of it. Here are the tasks that will complete the proper maintenance of your device:
Regular Cleaning
Conduct regular cleaning of your DIY LED display. Doing so guarantees that your screen shows optimal brightness and color vibrancy. It also takes out the possibility of accumulated dust and dirt entering your display’s system.
Use a soft and lint-free fiber cloth to gently wipe your screen. Stay away from any liquid cleaner, including alcohol and strong chemicals. Even water can damage your display.
Troubleshooting
Troubleshooting is a crucial thing you need to learn when understanding how to build LED screens. Regular screenings and diagnostics, similar to regular cleaning, ensure that your device runs smoothly. You can learn how to conduct troubleshooting yourself or hire a professional to do the task for you. One thing you can do is to hire professionals for the first time and try to learn from them.
Software Updates
Make sure that your software is updated at all times. Besides choosing the ideal and compatible software, it is necessary to keep it updated to avoid issues and bugs when in operation.
Repairs and Upgrades
Repairs and upgrades are also part of your journey in understanding how to build LED screens. If you find parts and areas that need repairs and replacements, take time to address them. Whether you conduct the repairs yourself or you hire technical professionals to do them for you, just make sure to do them as soon as possible to avoid having more problems.
When it comes to repairs, proper maintenance is key to avoiding more expenses in the future. For upgrades, if you see it necessary to replace a specific component with a better one, do so. Updates are always a good sign of improvement.
Conclusion
Do you know how to build LED screen on your own? The right materials and tools can help you easily create your own LED display without worry. Just be meticulous when assembling your device, and don’t forget to test and troubleshoot the device to make sure it works. Only limit the components you choose with compatible units to avoid errors and issues.
With LED tiles and a frame, stick with the manufacturer’s manual. If you have a question about your purchased materials, ask your provider. Inquire about after-sales services and if you can benefit from any type of warranty or maintenance service.

